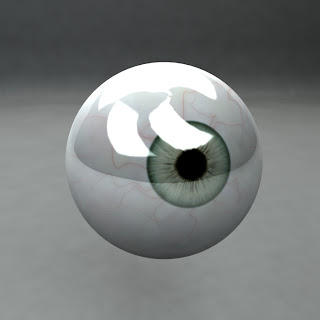
Here's the final texture rendered. The final gathering dome lighting used for the cars has been used here to light, so it's not quite right but it gives an idea of how good it can look.
1. Draw a coloured circle and blur edges.
2. Overlay a texture, in this case I chose fire.
3. Add a lighter circle and smudge out fine lines.
4. Add more smudged lines varying colours.
5. Add pupil then set a small brush to fade out at 500 pixels (may vary) and draw in the veins.
6. Duplicate the vein layer, blur and then give a slight hint of pink and yellow to the rest of the white part of the eye.
7. Use a colour layer over the iris to change the hue to desired colour.


Is it supposed to be real or cartoon?
ReplyDelete